Showing posts with label ideas. Show all posts

Wednesday 19 April 2017

Using old washing machines as garden beds

Here at the humpy we use everything again. My philosophy is to use, reuse, upcycle and hopefully compost anything that can't be of further use. One of the things that pass through our home fairly regularly is washing machines. I don't know why but I am hard on them. We use twin tubs to do our washing as we can save a HUGE amount of water by re-using wash water (and carefully sorting loads from cleanish to filthy) and twin tubs make it easier to bucket the used water out to water the garden. On average a washing machine will last for three years here before having some kind of catastrophic melt down, after which we fix it as best we can or buy another one (usually second hand, explaining the short life span). I have been stock piling the old machines in the yard waiting for inspiration to hit. My daughter was inspired to set them up as garden beds for vegetables recently.

Three washing machines and three chest freezers equals a lot of growing space

She took some timber rounds from the wood pile to use as legs for the new beds, this improves visibility under and around the beds (so we can see when Brian the black snake is around) and also gets the growing area above duck notice height. The washing machines and some stray chest freezers we had laying around were set up on their new legs along one wall of the humpy ready for filling with soil.

Since I have become obsessed with Hugelkultur I have been experimenting with places to put wood in the garden, this seemed like the perfect time to experiment. We collected heaps of old, half rotted branches from the ground around the humpy (within wheelbarrow distance) and filled the bottoms of the new beds. Then we used compost from the bottom of the chook pen (made from food scraps, straw, cardboard and newspaper all mixed with chook poo) to fill the rest of the beds. We planted peas, silverbeet, carrots and beetroot in the new areas.

It looks a mess, but chooks make great compost.

The peas and beetroot are up and thriving so far.


Peas at the back so they can climb the wire trellis against the wall and carrots in the front

We use pretty much anything that will hold soil to make garden beds here;

Old tires

Tanks cut in half

A trailer someone left here too long

Tell me about how you upcycle your rubbish.

Saturday 31 January 2015

Making a refillable traveler's journal


As most of you already know; I am a witch. I celebrate the Wheel of the Year, I follow the basic commandment of 'An it harm ye none, do what thou wilt', I believe in the three-fold law and I collect information. Being a witch is (for me) about learning new things and exploring new ways of looking at life. Being a crafty witch, I make my own tools.
One of the most important tools a witch has is her (or his) books, they hold the tiny crumbs of wisdom and knowledge we manage to gain in our life and can be passed on to another witch to use once we die. I make my own books; one for every new 'subject' (although they all interlock in some way); I made a massive, red leather, hard covered, parchment filled tome for my Book of Shadows (tools, correspondences and rituals); I made a cute little upholstery fabric covered book to record my life changing journey through the Sacred Cord (sort of like a rosary that takes two and a half years to complete); I made a black suede, hard covered slim lined book to record my divinations and dreams (Tarot, runes, iChing, scrying, etc); I made a decorated hardwood, post bound tome for my Tarot learnings (meanings, correspondences, Kabbalah and, layouts, etc) and now I have made a versatile, refillable, black leather traveller's journal for my Kabbalah learnings.

My first Book of Shadows

My Sacred Cord book

My divination book

The cover of my Tarot book
Inside my Tarot book


Because I used what I could find about the house, my journal is a rough item, but I am fairly pleased with it. The first thing I did was; make a cup of coffee (essential to the creative juices), then I got down to business. I wanted the pages to look old and worn so I found a ream of photocopy paper, carefully folded each page in half (not the whole ream, only about 32 pages), dipped each one individually in strong instant coffee and laid them out on a towel to dry. This makes the pages unpredictably brownish yellow with blotches (perfect for that aged look).

My instant coffee bath


Some of the pages laid out to dry


You can see the difference in colour between the new paper on the left and the coffee stained stuff on the right.

While the pages dried, I dug out an old leather skirt (it was the eighties OK) and cut a piece that was  2 cm or so higher than the folded A4 paper (A5 size page) and 6 cm or so wider than an open sheet of A4 paper (A4 size page). The leather was fairly thin and would have been too floppy for a book cover on its own so I also cut a piece of heavy duty interfacing and some pretty orange material the same size as my leather.


Old leather skirt

Heavy duty interfacing on top of the material square

These three sheets were glued together with the interfacing in the middle, clamped and hung to dry for a while.

My cover drying in the breeze.

While the cover dried I began making the note book to go inside this cover. I followed the clip below to the letter, but my finished print block was much messier than hers. Undeterred, I decided it added to the antique-y charm of the project and used it anyway. Unfortunately I didn't take photos of this step (I got lost in the process and forgot what I was doing).


I then trimmed the outside edges and punched some holes in my cover and threaded hat elastic through them in the sequence described in the clip below.


Here is the inside of my cover with the elastic in place.

Next I simply threaded my text block into the elastic holders and it was finished.

Spot the dog loved it; a leather paw rest, how innovative.

Then I started filling it up with collected bits of understandings and knowledge.

The three elastic bits mean I can add another two text blocks as I fill the original one up.

I loved making this project, I think I will make some more soon.

Somewhere down the track, I have plans of making my two daughters a book each and fill them with little snippets of information I think they may need, the sort of thing you ring your mum for...like;
'How do I unplug the bathroom drain..without putting my fingers in there?'
'How do I make pancakes?'
'Is it better to close the windows in a wind storm or leave them open?'
'Where do I go to register to vote?'
'How do I make soap?'
'What herbs are good for a cold?'

and many others.

Maybe one of these journals would be appropriate for that, new books can be added as more questions arise.

What do you think of this project?
Do you like the old and battered look for books and journals?

Saturday 10 January 2015

Mowing the lawn with sheep


The lawn has become a bit wild over the last storm season; with waist high grass in some places. In contrast outside the home yard is mowed like a bowling green to a distance of 30 metres or so. The reason for this is sheep. My girls (and now three boys too) mow the fire breaks for me by simply doing what sheep do; eat, poop and do complex mathematical equations in their head while chewing cud. The sheep have not been allowed into the yard for months because when they are in there they eat everything they can get their hooves on; the vege bed in an old trailer, anything in pots, fruit trees and I have even caught one licking the rabbit (she looked very guilty when I caught her). However, the lawn needs mowing...so I have put wire covers around the trees, moved the pots and let the vege bed go to seed, something may survive.


This is the edge of the driveway outside the yard. You can see how low the girls keep the grass (except bladey grass)


Kraken hiding by the pond

Yes, it's a mess. No excuses, I just got lazy


Using sheep to mow the lawn is hardly a new idea; lawns were around long before mowers were, in fact lawns were created by the grazing of animals around a building. There is even a landscaping feature designed to prevent livestock from straying onto the garden while they mow the lawn, called a Ha Ha wall. Paris (the city in France, not the socialite) began the move back to sustainable lawns last year by introducing rare breed sheep as lawn mowers in some parks, if it proves efficient, the system will be extended into the city (and beyond).


Woodrow Wilson used sheep to mow the White House lawn during World War 2

The girls look a bit ragged at this time of year, they are in the process of shedding their wool.


So I am continuing, or rediscovering, an ancient practice which feeds the sheep, trims the lawn and fertilises the ground. If only I could train them to stay away from the garden plants all would be perfect.

Monday 13 October 2014

What we do to reduce our carbon footprint


We all want to reduce our carbon footprint...right?
Well when you live like we do here in our little humpy, the usual advice doesn't always apply.
There are thousands of 'Reduce your carbon footprint' sites on the internet, mostly giving the same advice. Have a look at just a few;
Australian Museum
COTAP
Green Wiki
Mashable

In general the advice seems to be;
Reuse and Recycle what you can (already doing that)
Eat less red meat (I think once a week qualifies as less)
Drink tap water rather than bottled water (check)
Buy less and buy to last (That's us all over)
Use less heating and cooling (no air conditioners here)
Use less electricity (ours is solar so it doesn't apply)
Wash in cold water (There's a hot water option?)
Don't fly as much (We can't reduce this; we don't fly)
Don't drive as much and use public transport (I don't drive and go everywhere on the school bus)
Shop locally, especially fresh foods (Yep)
Grow some vegetables at home (Yep)


What do we do to reduce our carbon footprint?

We use solar power only, no grid electricity. We do use a generator once a week though.

We collect all our own water via a roof and tank system, we use very little fuel to pump the water up to a header tank to supply the house via gravity feed.

We don't buy anything we don't need and all our groceries come from the local Co- Op.

We have a vegetable garden, which could be better but I'm working on it.

I don't drive, I go everywhere on the local school buses or car pool. My partner does have a car for work though.

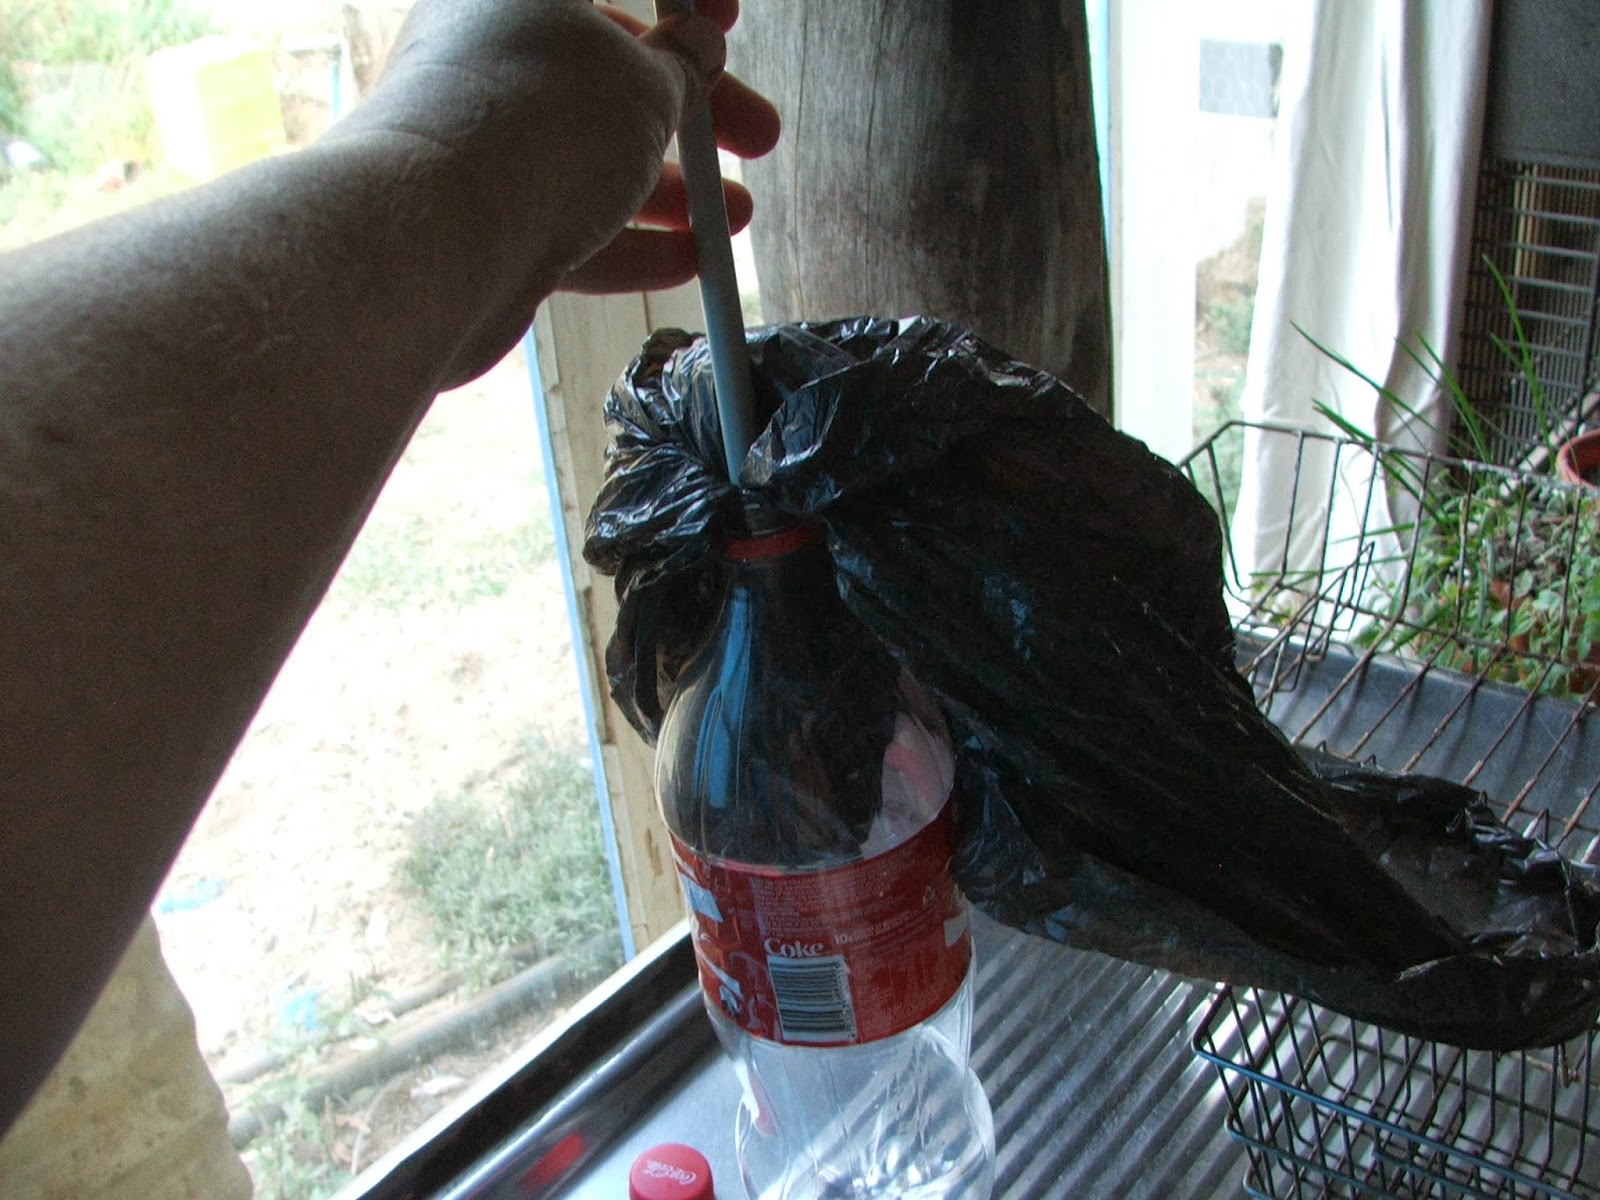
We sort our rubbish carefully and reuse everything we can and recycle everything we can. Making eco bricks with soft drink bottles and plastic rubbish has been a big step forward in this area. So has our use of old tyres for construction materials.

Of this list there are one or two things we could do better;

My partner has a four wheel drive for work, it uses a LOT of fuel in the course of his working week; we do need to invest in a more fuel efficient vehicle so he can go about the countryside saving carbon (he installs solar electricity systems) AND producing less carbon. I wish there was a work horse type vehicle available in an electric option with a range greater than 200 km.

At the moment we use gas for refrigeration, I would like to change this to an electric fridge (and I dream of a freezer) but that will require double the solar panels we have now, a new set of batteries and maybe a new inverter (the thing that changes 12 Volt power to 240 Volt power).

We run our generator on petrol; it is used once a week for four hours to charge the batteries (just an extra boost) while I do the washing as the washing machine uses too much power to run on solar (although a bigger inverter would fix that problem). To get away from this fuel use we would need to either upgrade our inverter or build/buy a hand operated washing machine. I am swayed towards building a hand operated machine myself, but like all hand operated things it needs more time to do things that way. Maybe when I am finished studying....

What do you do to reduce your carbon footprint?
What else can we do to reduce ours? Ideas welcome.

Sunday 22 June 2014

Some more unusual vegetable beds made from old pallets


Yes...I did it again; I saw some old junk laying around and thought "That would make a really good garden bed"

This time it was an old pallet. My partner installs stand alone solar systems so he occasionally brings home a pallet that has been used to transport panels or batteries. They are usually used as fire starters (being made of pine they burn fast and hot).

I had cleaned out the trailer bed ready to be planted with more green pick for salads and stir fries, and was thinking I need more space for lettuce and baby spinach when I wandered past the 'to burn' pile and saw the pallet.

I propped it up with a stack of old tyres to be level with the trailer bed.

Lined the bottom and up the sides with black plastic from the 'take to the dump please' pile and stapled  it in place. 

Filed the lot up with soil, potting mix and compost and poked a lot of holes in the bottom. There it is; complete with bird cage covers to keep the chooks out of the lettuce.

The trailer bed is all cleared and ready for planting too.
The pallet bed is very shallow (about 10 cm) so it will be hard to grow anything but lettuce or baby spinach in it, but if the soil is rich enough and it doesn't dry out it should do the job.

Being made out of pine the whole thing will only last a year or two, but it re-uses something from my rubbish pile and makes a useful short term bed so I'm happy.

Using pallets for gardens isn't really unknown; I found these examples on the internet.


I guess I will be using more of the old pallets that make it home from now on.

What do you upcycle at your place?

Saturday 12 October 2013

Eco bricks; Making use of rubbish

Lately I have been thinking about rubbish; specifically the plastic and foil bits that seem to be wrapped around everything these days. We have no rubbish pick up here. No magic bin that mysteriously empties itself if I leave it by the road on a Tuesday night. We take our rubbish to the dump in the trailer and pay for the privilege of leaving it there (we also pay $150 a year to maintain the local dump on our rates). So I have started to think about ways to reduce our rubbish production.

We buy in bulk where we can and I send refillable containers to the local co-operative to be filled up with washing powder and detergent. Glass, recyclable plastic containers, aluminium and tin cans are taken to a recycling centre periodically. Food scraps, paper and cardboard are used in the chook pen for composting. That only leaves that annoying plastic; plastic wrap, Styrofoam trays, chip packets, chocolate wrappers and plastic bags. We commonly fill about one grain bag (20 litre size)  per week of non-recyclable plastic.

 I think I have found a solution at last;


Eco bricks. They have been used to build schools and houses in third world countries for a few years now and provide a handy way of getting rid of rubbish that would otherwise go into landfill.

Basically they involve stuffing clean plastic rubbish really tightly into PET bottles until they are full and hard, then put the cap back on. I have been making them for about two months now and have managed to produce about two a week. I never thought I would be thankful for my partner's coca cola habit, but he manages to provide just enough bottles to keep up with the plastic we produce.


Step one; collect all the clean plastic rubbish you can (wash it if you have to)


Step two; using a stick or an old knitting needle, shove the plastic rubbish down into the bottle.


 Pack it down tight.

Keep filling until you can't jam any more in, then put the cap back on.


Stock pile them somewhere and use them to build.

Beautiful buildings like this.

Maybe I will collect enough to build the toilet out of them.......

Is this idea too crazy?? Can I get the local council to approve? What do you think?

Friday 27 September 2013

Carrot towers; an experiment in intensive growing


My little Purple Dragon carrot seedlings are growing up so fast so I thought it was time to start experimenting with ways to grow them.

We have no topsoil here at all (well a few centimeters in some places) so I have been thinking about raised beds for carrots for a while, then I came across this idea, called a flower tower and thought "Why not try it with carrots?"

As you can see, I built the frame as per instructions (see the 'flower tower' link)

Then I found a stray piece of PVC pipe and thought it would make a good water delivery system.

So out came my trusty drill

Dozens of holes were randomly drilled all over. I also plugged one end with a sink plug.

The pipe went into the middle of my frame, plugged end down.

Then I filled the lot with potting mix and compost.


I also added some PVC pipes through the bottom, sticking out about 25cm, to provide supports for the cover.

The seedlings were poked through the shade cloth into the potting mix. A job which took ages.

I planted a tomato and a love-in-a-mist in the top to provide colour and shade to the carrots (and maybe even tomatoes)

And marigolds around the base, for companion planting and for more colour.

The wire cover went over the whole lot and the seedlings watered in

Then I added an old sheet over the cover because it's a windy, hot day and the little seedlings need all the cover they can get for a few days.


The result so far is a mysterious, sheet covered mound. I have some concerns about this method;
If the carrots grow straight down, will I be able to harvest them?
Will I be able to keep the water up to them?
It is a time consuming business, putting the carrots through the shade cloth, is the yield worth the time?

I only planted 10 carrots in the tower as a trial run, but if it works there is room for 50 in just this little tower so the method certainly is space saving.

I will keep you posted on the progress of this experiment.