Showing posts with label craft. Show all posts

Friday 4 March 2016

Natural dye experiments- onion skin + iron = green


I've been interested in natural dyes for a while now; I read a lot of blogs and endlessly wonder what colour I could get from plants I pass on a daily basis, but this is the first time I have systematically experimented with them.
After reading about how easy it is to make natural mordants at home and how they can give different colours to dyes, I decided to take the plunge.

First I needed a dye journal (of course) to record all my recipes in so I could repeat a colour if I wanted to.


My new dye journal.

I had a refillable cover made already (see this post for how I did it) so I whipped up some saddle stitch signatures to fill it with and away I go.

Measuring the holes out very precisely (sort of) with another signature.

Punching holes so I can stitch the pages together.

 Natural dyeing is a huge subject, so I won't try to explain it all in one post. The basics are simple though; natural fibres such as sheep wool, alpaca, cotton and silk can all be dyed using plant and animal products. The general method is to boil stuff and soak fibre in the resulting liquid. Most dyes obtained from plants need a mordant (which helps the colour stick to the fibre), mordants are usually salts or metals such as alum, iron, copper, salt and vinegar, so I read up on how to make some at home and had a shot at it.

 I made iron and copper mordant by filling two old jars with water and a half cup of vinegar then throwing (well placing carefully) copper pipe in one and iron in the other. I left both jars on a shelf and used the iron mordant with great results two weeks later.

The one on your left is iron and the one on the left is copper.
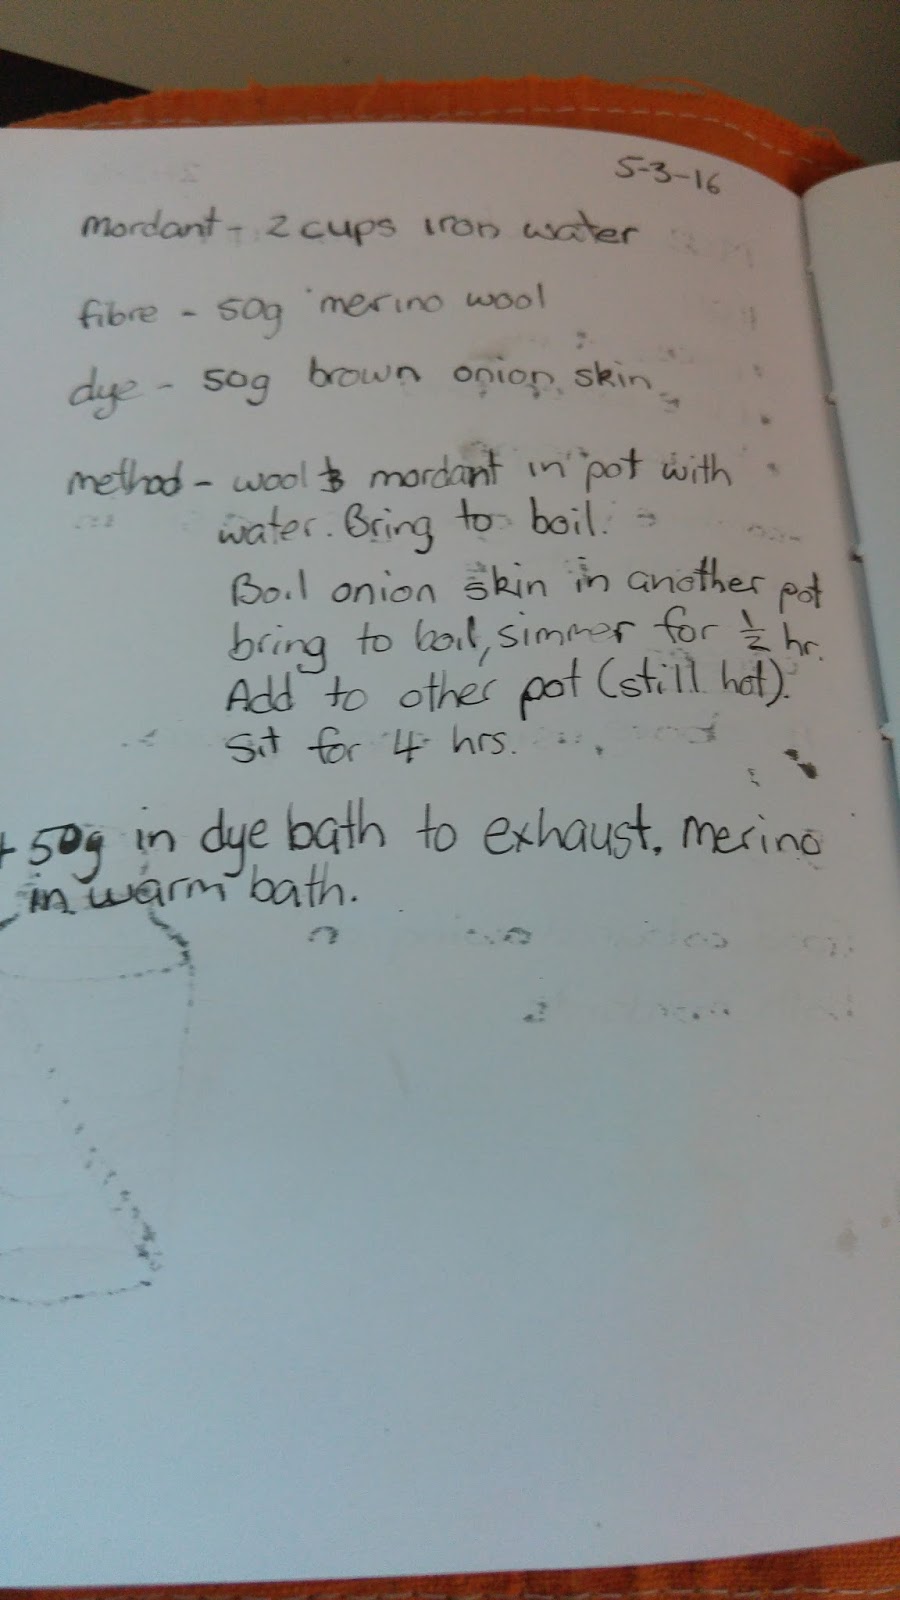
Of course I wrote it all down in my dye journal.

 Having read that onion skins (usually a yellow dye) with iron mordant can give greens I just had to try it. So I broke out my supply of saved onion skins and boiled up a batch of dye; just throw onion skins in a pot of water and boil away (be aware that your partner or children may erroneously believe you are cooking dinner as it smells like soup). Meanwhile I poured two cups of iron mordant into a big pot of water, added 50g of washed merino wool and put it on to heat. When the mordant pot came to the boil I turned off the heat and let it sit for an hour. After that I strained the onion skins out of the dye pot and dumped the liquid dye into the mordant pot. The fibre immediately began to go a dark greenish brown, so I just let it sit.

The colour started to go into the wool straight away, so exciting.

 After a couple of hours (while I was forced to study and do house work) I fished the wool out of the dye vat and took it outside to dry. There was still a fair amount of colour in the pot so I just threw in another 50g of merino to see what colour I would get with no mordant except what was left in the mix.

I'm fairly happy with the result.

Hope it keeps it's colour as it dries.

It's the same colour as Barry's wing feathers.
I dutifully wrote it all down for later perusal.
 The colour is so deep; maybe because it's natural dye it has the same look as Barry's wing feathers, they sort of glow with colour. I hope my wool keeps it's colour as it dries and I can spin up some beautiful green yarn to make a hat or something.

Next I'll look for a recipe that uses copper mordant and makes purples or blues.
Any suggestions?


Friday 25 September 2015

Learning to card weave

Another journey of exploration for me... card weaving. Also known as tablet weaving, this art has been used to make straps and decorative edges for centuries (there is nothing new under the sun). I first read about it while researching naelbinding (or needle binding) and other Viking textile methods. I have yet to perfect the art of making socks with a horn needle and wool (naelbinding) but I did give tablet weaving a go. I made a short lead for Shaun and a long lead for Sid and am now in the process of making a collar and lead set for my daughter's dog; Val.


The basics sound deceptively easy; just make some cards with a hole in each corner. I used old milk bottles to make mine, the plastic is thin but strong and I can write on them with a permanent marker. My cards are two and a half inches square with the holes a half inch in from the corner.

Then thread them up according to the draft pattern. I decided to start with a really simple one that gives ovals.

The warp (the long bits of yarn you weave through) is tied to two fixed points (or one to your belt and one to your toe) and away you go.

Simply turn the cards forwards or backwards (depending on the pattern) to open new sheds (the gap you put the weft [the bits of yarn that goes from side to side in weaving] through).

I have learned some lessons on this journey...

My cards, made from cut up milk bottles

First and most importantly- don't let your warp threads get twisted or you end up with a huge mess and a red face (possibly high blood pressure too). Eventually I figured out that cutting each card's worth of warp and pegging them individually to a coat hanger was quicker than cutting big numbers of each colour then sorting them out later.

My first mess of warp strings...waiting to be sorted out.

Now I just cut them and peg the until I am ready to thread.
Secondly- It is much easier to move when you aren't tied to a door, or life is easier with a loom. I made a simple frame for my card weaving warp after my first weaving session. This simple loom is made from PVC pipe and 90 degree angle joiners. It works really well and I no longer take ten minutes to get free of the warp so I can answer the phone, check on a squawk from outside or go to the loo.

A really simple card weaving loom
Thirdly- keep your cards all together with a clip when you advance the warp to weave a new bit. If you don't you could end up having to untangle a pile of warp threads all over again (I did).

This handy clip keeps the cards all aligned and neat when I'm not weaving and when I move the warp up.

Lastly- be prepared to be endlessly awed by the beautiful bands you can make with just a simple warp and some bits of plastic.

Shaun's lead on the loom


The finished lead, I love the patterns and it is so strong.

The second attempt at a lead. I made a few mistakes in the card turning, but it's strong and useful anyway.

Sid loves it, because it's longer than Shaun's and he can graze as we walk.

The third attempt. This will be part of a collar and lead set for Val; my daughter's dog.

As you can see I'm far from an expert, my selvages are still messy and I miss threaded one card on the latest warp (the pink dot in the green circles), but I am getting better at it and enjoying the process. Life is good when I can learn new things.

Oh and Book Book (my youngest daughter's hen) is sitting on a nest in an old chest of draws, no...not in the house. She will hatch some lovely champagne frizzles soon and I will have chickens to watch again.


Tuesday 30 June 2015

Up-cycled wardrobe project - a maxi skirt from an old sheet


As I was searching desperately for something to distract me from what I should be doing (study...specifically a literacy competency test) I found an old sheet in the back of the linen cupboard. This one sheet is all that remains of a set given to us as a wedding present 25 years ago. Obviously they were a good quality sheet as they survived dogs, kids and bush living for this long (well one of them did). Originally the sheet was jet black but over the years it has faded to a lovely charcoal grey. It is made from cotton and has developed a lovely soft feel and shows very little sign of wear. I decided it would make a lovely skirt.

So I had found my distraction; make a skirt from this old sheet.


First the all important research;


Then it's straight into the fun stuff...

The sheet in the process of being laid out on the lounge room floor.


I measured 48 inches for the width of the skirt piece as instructed. Then I measured from my waist to my ankle to get the length measurement and cut the piece off there.

At this point I decided it would be easier to sew the casing for the elastic before the side seam was sewn. So I swapped the instructions around. This turned out to be easy and quick, with less chance of sewing stray bits of fabric into your seams too (other messy sewers will know what I mean).

I made sure the elastic would have enough room in the casing at the top of the skirt then pinned the casing right across.


I then got treadling and sewed the elastic casing seam twice (to be sure, to be sure). I'm not sure why my phone decided to make this photo sepia, but it gets artistic ideas sometimes.
I have missed using Prudence the treadle machine while making underwear. I really must save up for a zigzag attachment for her.

The side seam was sewn up quickly, also with a double seam (to help slow down any fraying) and the elastic was threaded through the casing. I used a side seam of the sheet as the bottom of my skirt so I didn't have any hem to do, so this was a really quick and satisfying project.


I'm wearing my new skirt (and a pair of my home made undies) as I type this and I'm feeling very proud of myself as sewing is not really one of my skills. That's one skirt down from my project, maybe next time I will make a circle skirt, or a double layered skirt.

Friday 26 June 2015

Up-cycled wardrobe project - 7 pairs of underwear


To begin my self imposed challenge I am making 7 pairs of underpants (enough for a week of wear without having to do a wash). I have been making these from old t-shirts for a few months now (see my first attempts here), but decided to make 7 new pairs for the project. My pattern has been tweaked and changed until it produces a REALLY comfortable pair of undies and is now a treasured resource (it even has an envelope to live in when not in use).


My latest pattern makes really comfortable undies.

I found some stretch material remnants in my stash that I thought might do the trick. All these remnants come from second hand stores and gifted items from other people's stashes so they fulfil the up-cycled requirement.  The materials ranged from cotton/lycra to full on stretch polyester but the gussets are all cut from t-shirt remnants  which are 100% cotton.

Seven pairs cut out and ready to sew.

When I began sewing the sides up I discovered a real drawback to sewing stretch fabric: the machine doesn't like it. I made a huge knot in my first pair as the fabric got pushed/sucked down through the dogs (the grid thing under the needle) and I had to dismantle the machine to get it out. After spending a half hour with a screw driver and a don't-talk-to-me expression I got the lot untangled and had a think. This led to an hour of googling which turned up a great tip: use tissues under the seam to provide some stability.

Tissues under the seam, what a great idea

Some of the tissue stays in the seam after you tear it off, but it will wash out in the sewing machine, I promise.
 Eventually I decided to try a more up-cycled option and tried newspaper strips, this worked really well too, but still with some small pieces left behind after it is ripped away. I guess the washing machine will have to take care of it.

Using newspaper to stabilise seams in stretch fabric.
 The final hurdle in my sewing came when I realised how short of elastic I was...I used up every scrap I had on three pairs and had to go and order more (part of my 10% new materials). I mail ordered it from an Australian shop which has an Etsy store. Now the wait begins, I will finish my 7 pairs as soon as the elastic arrives, then it is on to making 4 bras. I wonder what my mistakes will teach me in that project?
My first three finished undies, more to come.

Monday 22 June 2015

An up-cycled wardrobe

Lately I have been thinking about the everyday things that I use and wear, in particular my clothes. I have a general philosophy of use and re-use which leads me to find or make my belongings or if that is not possible to buy second hand. This tends to be viewed as strange behaviour by people I meet, but most people also think it's a great thing to do too. Clothes are one of those things that people are willing to spend piles of money and time on without viewing it as an extravagance, but here is a hidden cost in buying new clothes which needs to be considered; from the environmental costs of producing the fibre and materials to the ethics of sweat shop production and importing from other countries.


When it comes to clothes I mostly rely on hand-me-downs (or more accurately hand-me-across'), make my own or buy second hand. The thinking behind this is that the 'hidden cost' of my clothes is halved if they have been used by someone else before me. If I were to re-use these second hand clothes to make more clothes I have reduced the cost of these items even more. Using this justification I have decided to challenge myself to make a totally hand made and up-cycled wardrobe...

The overview: make enough clothes to last me a week, make every garment I will wear (from the skin out), use at least 90% up-cycled materials and include at least one day out in the 'big wide world'.

To that end I will make;

7 pairs of underpants
4 bras
4 pairs of socks
3 skirts
7 tops
3 pairs of long pants
1 pair of shorts
2 pairs of shoes

Look forward to a series about the triumphs and frustrations of making an up-cycled wardrobe.

Saturday 20 June 2015

Happy Yule to all

Happy Yule to everyone. The winter solstice is here again, and so much faster than last year (I must be getting old). This year we decided to break with tradition and go on a coven excursion to the Lismore Lantern Parade for the solstice. There was a Viking recreation village set up in a convenient park to visit and a hunting party drifting around town (looking for boar and elk no doubt).
We started the celebration with lunch and an exchange of Yule gifts then went off to tour the Viking village where we felt right at home. I gathered lots of ideas for building and making things and admired the leather bound warriors who drifted by occasionally or could be seen sitting beside their fires making socks and sharpening axes. Finally we found ourselves a prime spot beside the road to watch the parade go by once night fell (we took thousands of really blurry photos but I have included the best ones below).

Yule gifts


More Yule gifts
Even more Yule gifts

A Viking tent with straw under the canvas floor, what a good idea.

Warriors beside the fire making things with a pole lathe. The seated warrior is naalbinding a pair of socks (more on that later)

Sleeping skins in a tent


A game of chess (sort of) set up to play when the women are finished cooking.

A pegged bed (no nails) I loved this tent, so neat and tidy. The shield by the door tells everyone who's tent it is.

Some traditional Viking tools: nallbinding needles, sewing needles, card looms, needle holders, spindles and the essential drinking horn.

An old friend who used to come to circle as a child, who knew there was a Viking lurking in there.

Some of the beautiful lanterns at the parade.


The Viking ship sailed by accompanied by a crowd of fur and leather dressed villagers. The smell of leather and wood smoke in the air and the sound of a marching chant and drums just made me goosebumps all over.

Where the wild things are is one of my favourite books.


Gaia in person

The Green Mand was there to welcome the sun back.


A better shot of the long boat.


I have decided to try naalbinding this year as it looks amazingly complicated. I watched several people making socks and pouches at the Viking village. Apparently the Vikings didn't know how to knit, they made woollen clothing using a sort of macrame with a needle: naalbinding. Check out the video below for a quick explanation and a demonstration...


Look out for a post about naalbinding in the future.